
Before starting to texture a quilt, I usually go through what I call my doodling step, where I try out some ideas with a felt tip pen on some newsprint. I draw lines without lifting the felt tip pen from the paper, to imitate the “endless line” motion of a sewing machine stitching line…
Sometimes, the bright ideas are elusive and I scrap a lot of paper… And sometimes, light bulbs go on and I save my pile of paper sketches. On a good day, I can come up with several usable textures and on a bad day, well, it’s a really dry run. Go figure.
Then – before tackling an actual quilt – I take my bright ideas to little “quilt sandwiches”, to practice and warm up.

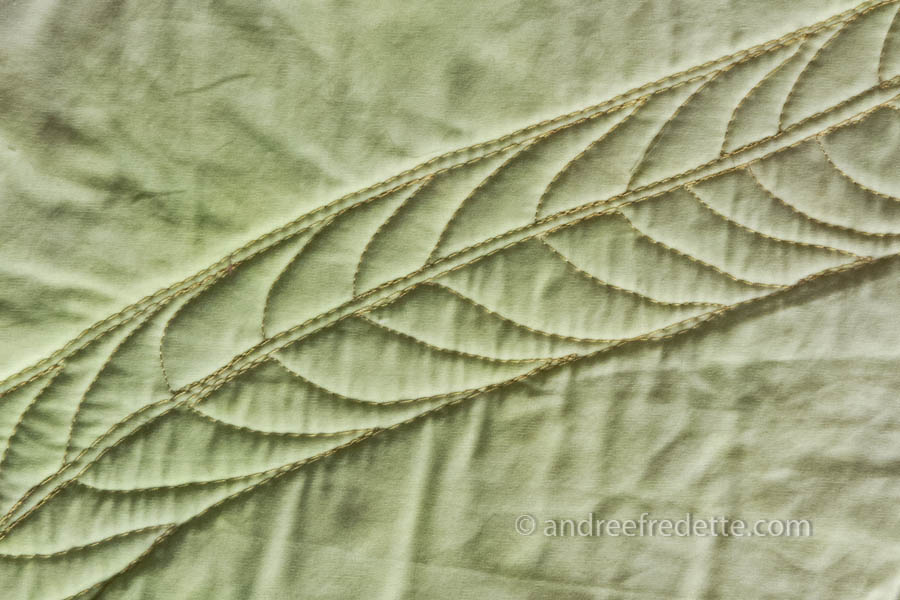
In the sample above, you can see the light green stitching lines, about an inch apart, that form “corridors”. I often use those as a first step, to establish a direction, especially when I am trying to evoke a stem, or to draw long lines across a piece.
After laying my road map, I come back (in this case, with a darker thread) and fill in with the patterns that I pick up in the greenery that surrounds me. I am really fascinated by the lines of foliage – both on shore and in the water – on the island. Grasses, plants, kelp, anything is a good source of inspiration.
And I have found that pattern repeats, especially when they are uneven, are very interesting. They move the eye around…

Here is an example of a textured quilt study, using simple lines to enhance the pieced design.

I am not interested in perfection, because perfectly spaced lines and stitches look too automated, machine-driven. I prefer the lyrical “élan”, the irregular repeats, much like wavelets washing ashore, no two exactly the same. I want my stitching or mark-making to look a bit more like someone applying pressure on a brush, while painting or drawing. Because I draw with a sewing machine…