
As a follow-up on last week’s Quilt and Stitch post One, about my approach to mark-making on textiles, a.k.a. quilting, here is another set of closeups shots to illustrate my fascination with line repeats.
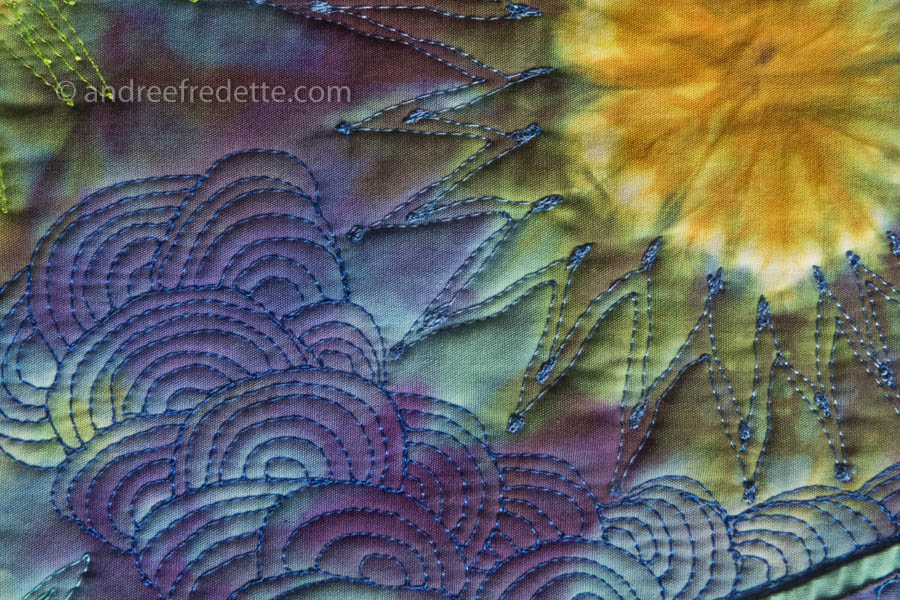
Above, two sets of very different line repeats: a curvy grouping at the bottom, contrasted with very angular paired lines around the “sun”, which are punctuated by little “seeds” of zig-zag-in-place, just because I imagined it might be interesting (smile).
The photo above is a real close-up, those stitching lines are about an 1/8″ apart, and the fabric is hand-dyed pima cotton, with a very tight weave. The sunburst effect on the hand-dye was achieved with tightly knotted elastics, a technique from the sixties… But resist dyeing, or tie-dye, is a subject for another day.
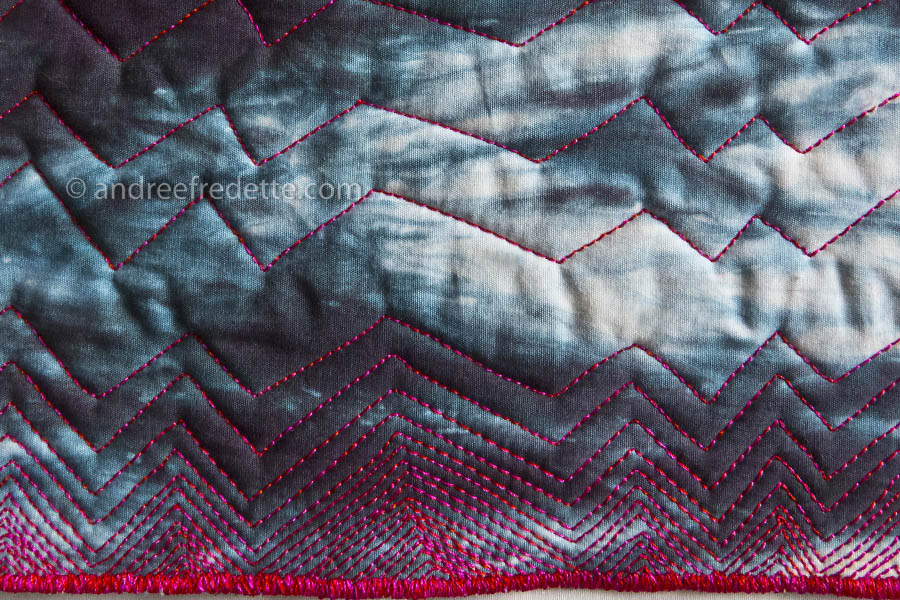
Above, another sample that shows how variations in spacing can create a vibration effect. Almost tribal. I could have changed thread colours, but chose to stay with the hot pink. In later posts on this topic, I will show you how thread colour can play a big role in a group of stitched lines.

Above: circular stitching in place, to create a little “pasty”, or embroidered dot. I left the thread on the piece between dots. For the top line of pasties, I decided to come back and to add lines of stitching to highlight the linear connection. I could have cut the threads… but it is far more interesting this way.
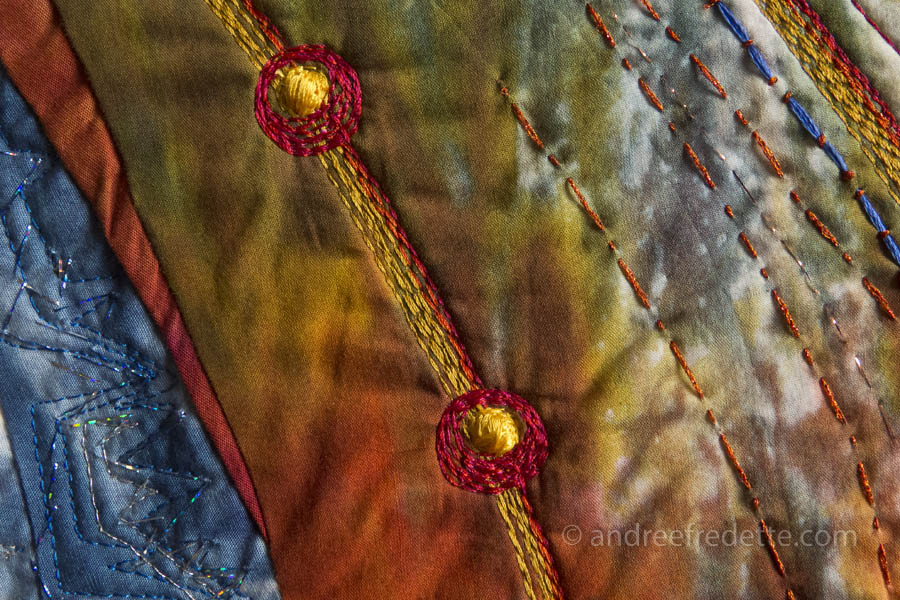
And this last example is a combo of machine and hand-stitching. I started with a line, punctuated by “pasties” which I topped with a thread buildup, to create a thread bead, practically. Then, I returned with another colour, and stitched up and down and around the pasties, because I felt like it…. The other lines on the right are stitched/embroidered by hand. You can also spot my fingernail-dragging mark on the fabric, where I had considered adding yet another line…
All in a day’s play.


 Much of the quilting is improvised and I draw inspiration from the colours and the shapes. This quilt is so graphic, with bright contrast, that I decided to stick with “stitching within the lines” rather than add another set of markings by going “off-road”. I think it would have been too chaotic. Well, it’s how I feel at the moment and this may change in the next couple of days (smile). People who quilt will understand what I am talking about!
 Still much more work to be done, one hour at a time. And of course, all the finishing.
 I revisited some favorite texture patterns of mine, to see how tension settings and various threads worked out with the new “beast”…
 It turns out that the Janome is really easy to manoeuvre… and remarkably quiet. Maybe that’s a hint that I should get the Bernina to the technician for a bit of maintenance. I still plan to use the Bernina for piecing.
 Jungle may still get trimmed quite a bit, depending on how I feel when I see it with some texture. I am not sure, yet, about the cropping of the piece. But I’ve decided to go with the flow and let it be fun. These colours are bringing out my inner child. I am letting the child play…
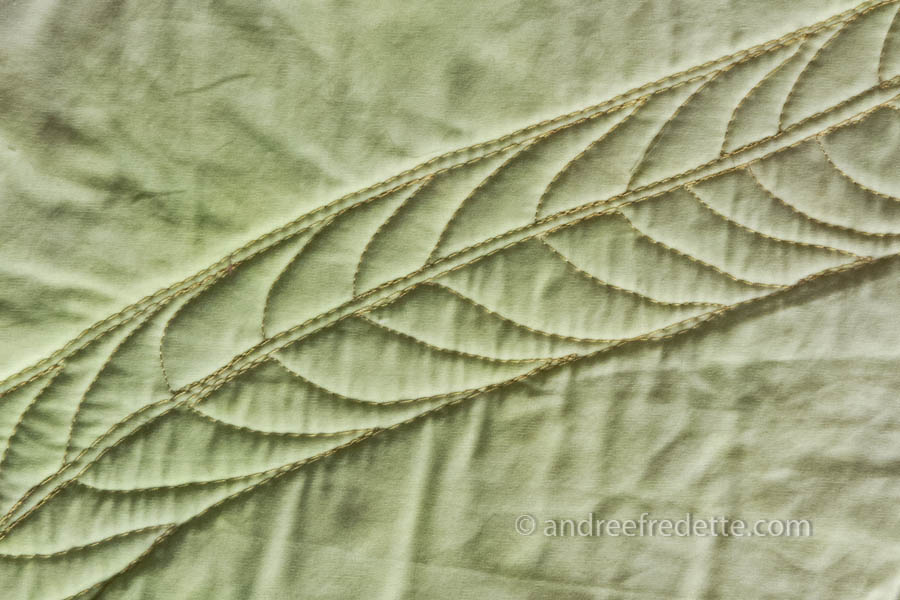
 While I ponder how I should texture it, I will start playing with mark-making, warming up for the big piece. Above, an example of my approach to warming up: a little bag, the result of my warm up exercise… It’s a great way to loosen up, experiment and discover how to apply new patterns on quilts.